Implementing a "Zoom to Object" Feature in Three.js and React Three Fiber
In this tutorial series, we explore various features of a 3D editor and demonstrate how to implement them using Three.js and React Three Fiber. In this post, we’ll focus on adding a “Zoom to Object” feature, which allows users to smoothly zoom in on a specific 3D object by pressing a key.
This feature is particularly useful in 3D applications for enhancing user experience and providing better focus on selected objects. We will cover the following:
- How to calculate the correct camera position to center an object on the screen.
- Adjusting the zoom level or distance to ensure the object occupies a desired portion of the screen.
- Implementing smooth animations for a seamless experience.
- Integrating the feature with common camera controls like OrbitControls.
By the end of this tutorial, you will have a functional “Zoom to Object” feature that works with both perspective and orthographic cameras, complete with smooth transitions and compatibility with user interactions.
Algorithm
Let’s break it into the steps:
- Calculate camera position, so the object stays exactly in the center on screen.
- Calculate zoom in case of orthographic camera or dolly (distance) for perspective camera, so the bounds occupy at max 50% of screen width or height.
- Animate.
- Take care of controls during the transition.
Preparing the stage
import ReactDOM from 'react-dom/client'
import { useRef, RefObject, useEffect } from 'react'
import { Canvas, useLoader, useThree } from '@react-three/fiber'
import {
  Grid,
  OrbitControls,
  Environment,
  PerspectiveCamera
} from '@react-three/drei'
import {
  PerspectiveCamera as PerspectiveCameraImpl,
  OrthographicCamera as OrthographicCameraImpl,
  Object3D,
  Box3,
  Matrix4,
  Vector3,
  Mesh
} from 'three'
import { GLTFLoader } from 'three/examples/jsm/loaders/GLTFLoader.js'

export default function App() {
  const targetRef = useRef<Mesh>(null)
  useFToZoomToObject(targetRef)

  const piano = useLoader(
    GLTFLoader,
    'https://evstinik.github.io/models/piano.glb'
  )

  return (
    <>
      <PerspectiveCamera makeDefault position={[1, 0.5, 0]} />

      <primitive ref={targetRef} object={piano.scene} position={[0, 0.33, 0]} />

      <OrbitControls makeDefault enableDamping={false} />
      <Grid
        infiniteGrid
        fadeDistance={100}
        fadeStrength={10}
        cellSize={0.1}
        sectionSize={1}
        cellColor={0x888888}
        sectionColor={0x666666}
      />
      <Environment preset='city' background={false} />
    </>
  )
}

function useFToZoomToObject(targetRef: RefObject<Object3D | null>) {
  const { camera, controls } = useThree()

  useEffect(() => {
    const handleKeyDown = (event: KeyboardEvent) => {
      if (event.key === 'f') {
        if (targetRef.current) {
          event.preventDefault()
          zoomCameraToObject(
            camera,
            targetRef.current,
            controls as unknown as Controls,
            false
          )
        }
      }
    }

    document.addEventListener('keydown', handleKeyDown, false)
    return () => {
      document.removeEventListener('keydown', handleKeyDown)
    }
  }, [camera, controls])
}

function zoomCameraToObject(
  camera: PerspectiveCameraImpl | OrthographicCameraImpl,
  target: Object3D,
  controls: Controls | null = null,
  animated = false,
  durationMs = 300
) {
  // TODO
}

interface Controls {
  enabled: boolean
  target: Vector3 | undefined
  update: (() => void) | undefined
}

ReactDOM.createRoot(document.getElementById('root')!).render(
  <Canvas style={{ backgroundColor: '#262626' }}>
    <App />
  </Canvas>
)
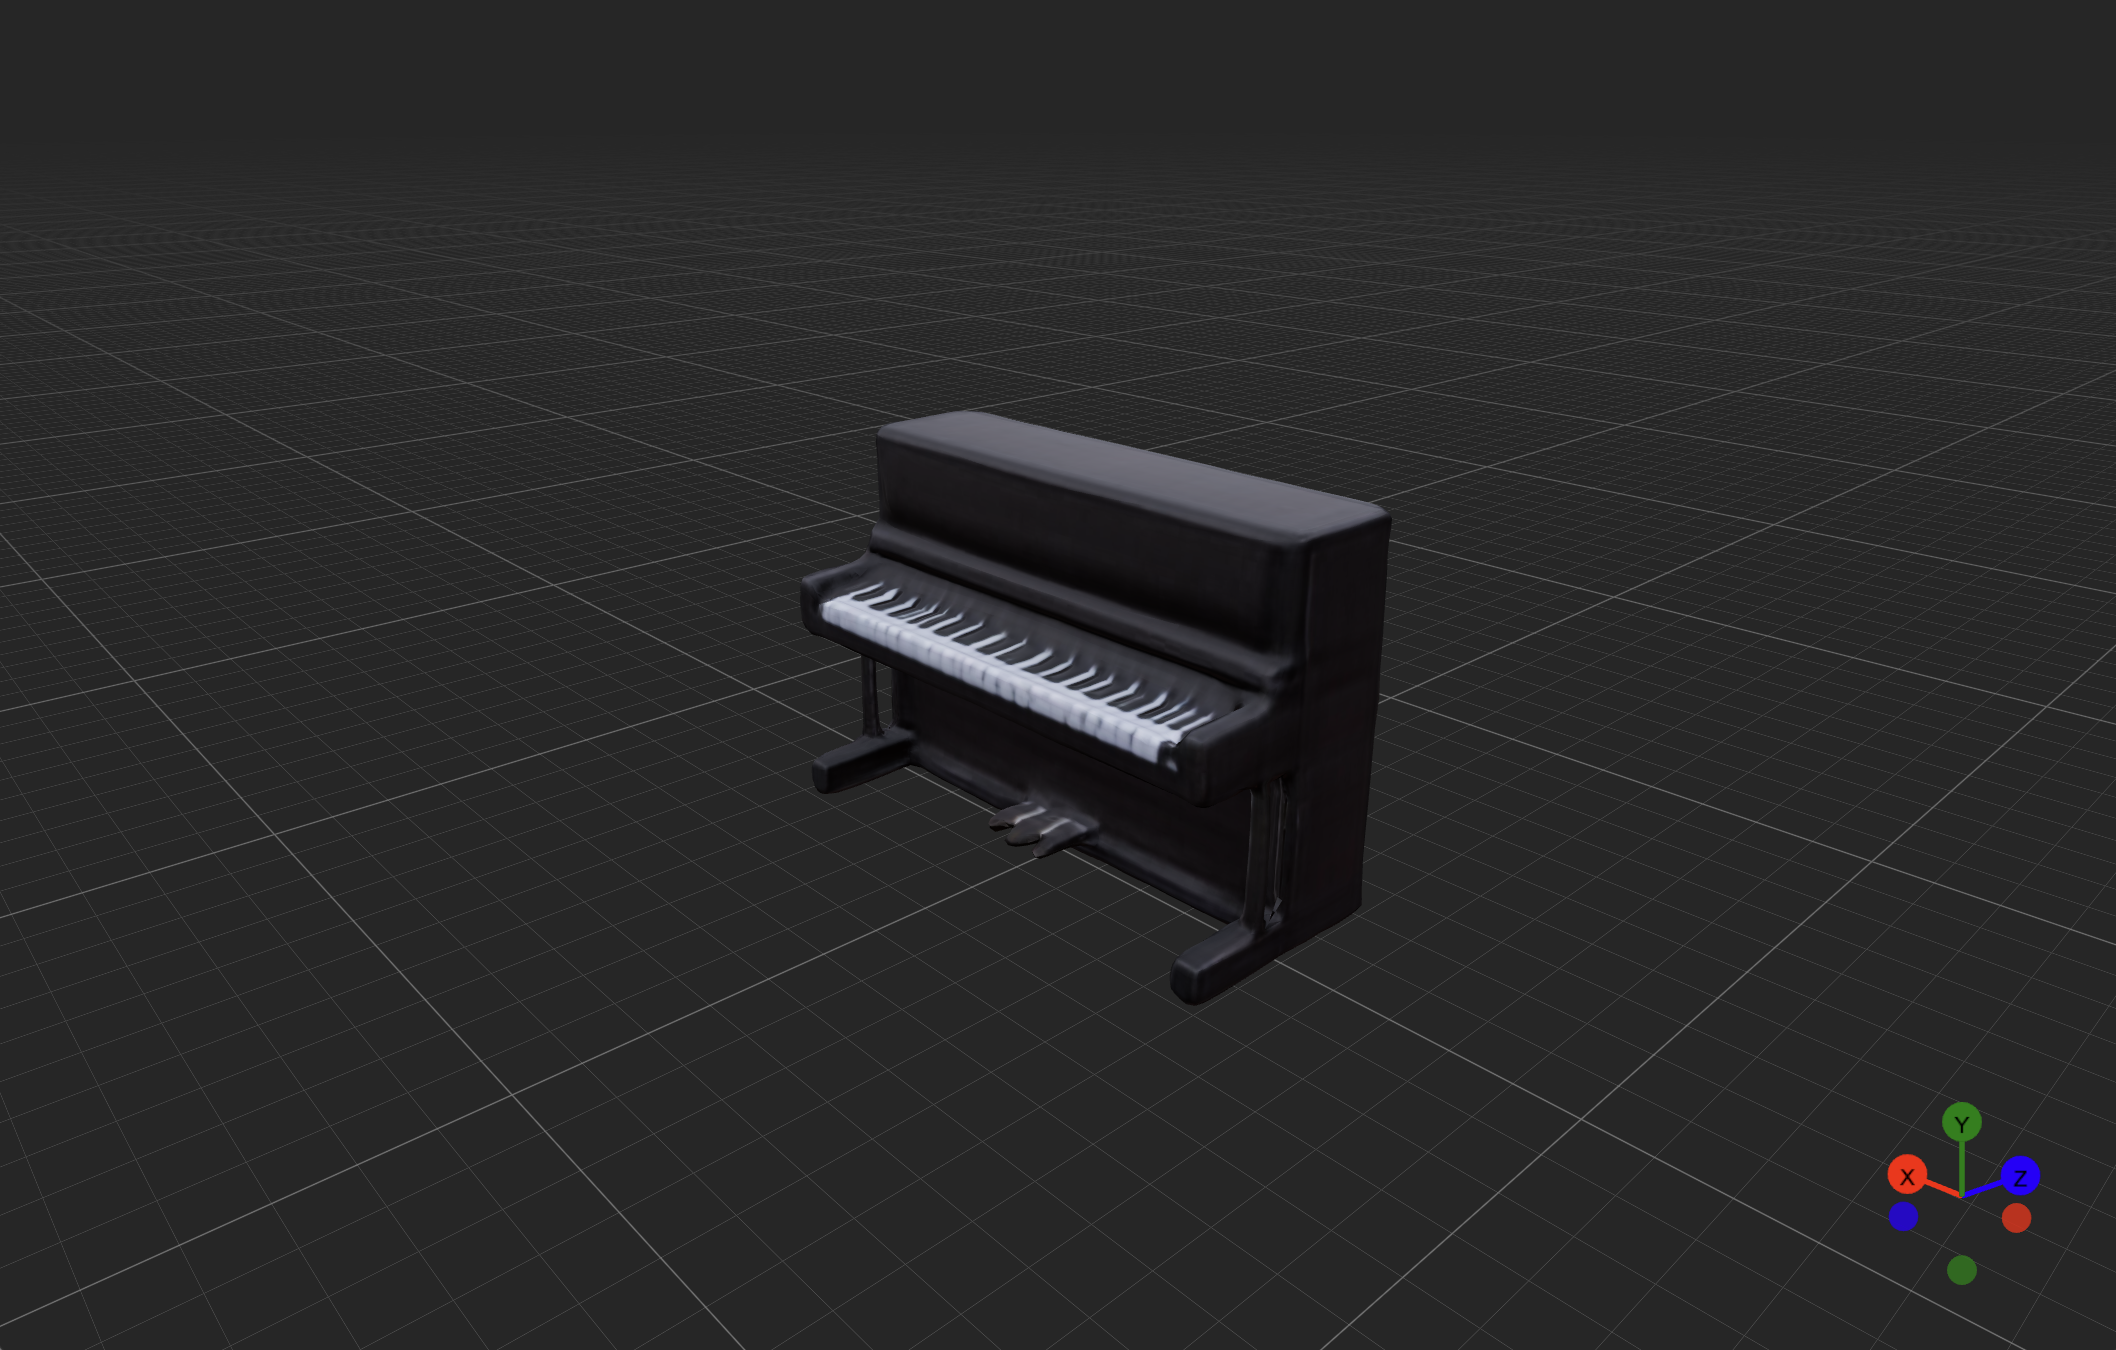
Main characters of this post are going to be the camera and 3D model of piano.
Additionally, I added orbit controls to be able to navigate in the scene with mouse, grid to enhance the visual clarity of the scene and an environment to light the scene.
Camera position calculation
Let’s come back to the function and calculate camera position, so the target is right in the center of the screen.
The camera always faces in the -Z direction, so in camera space we need to put object somewhere on axis Z. For example, at (0, 0, -1).
I discovered that the easiest way to store future camera transform is a world matrix. And in a moment you will see why.
function zoomCameraToObject(...) {
  const cameraTransform = camera.matrixWorld.clone()
  cameraTransform.setPosition(target.position)
  cameraTransform.multiply(new Matrix4().makeTranslation(0, 0, 1))
  camera.position.setFromMatrixPosition(cameraTransform)
}
Handling camera controls
After pressing key “F” multiple times you might find that it behaves oddly. That’s because the camera is being controled by OrbitControls. Let’s prevent controls clashing.
function zoomCameraToObject(...) {
  if (controls) controls.enabled = false

  const cameraTransform = camera.matrixWorld.clone()
  cameraTransform.setPosition(target.position)
  cameraTransform.multiply(new Matrix4().makeTranslation(0, 0, 1))
  camera.position.setFromMatrixPosition(cameraTransform)

  if (controls) {
    controls.enabled = true
    controls.target?.copy(target.position)
    controls?.update?.()
  }
}
Perspective camera
In perspective projection objects become smaller with bigger distance from the camera. To be exact, those two properties are inversly proportional to each other.
To find out how far we should move our camera let’s find out how much smaller we want our object to appear on the screen.
Start with calculating object’s bounds in 3D in world space. Then convert it to view space and apply the camera projection to convert it to 2D clip space. Mind the order of matrix multiplication.
const bounds = new Box3().setFromObject(target)
const worldToClip = new Matrix4().multiplyMatrices(
  // view space -> clip space
  camera.projectionMatrix,
  // world space -> view space
  cameraTransform.clone().invert()
)
bounds.applyMatrix4(worldToClip)
We have now bounds in normalized device coordinates (NDC), which are in range -1 to 1. We would also like to have object occupy at maximum 50% of screen width and 50% of screen height. This is already enough to calculate scale factor for the object.
const maxRatio = 0.5 // take up 50% of the screen
const maxWidth = 2 * maxRatio // 2 is clip space full range (-1 to 1)
const maxHeight = 2 * maxRatio

const actualWidth = bounds.max.x - bounds.min.x
const actualHeight = bounds.max.y - bounds.min.y

// How much smaller the object should be to fit the screen
const scaleFactor = Math.min(maxWidth / actualWidth, maxHeight / actualHeight)
Having scale factor and knowing that for perspective projection it’s inversly proportional to distance we can solve how far we should place camera.
const desiredDistance = 1 / scaleFactor
cameraTransform.setPosition(target.position)
cameraTransform.multiply(new Matrix4().makeTranslation(0, 0, desiredDistance))
Notice, that we use 1 / scaleFactor, because we previously have put camera exactly 1 meter away from the object.
Calculation is complete, now it’s time to apply it to the camera.
Non-animated way would be simply setting the position.
camera.position.setFromMatrixPosition(cameraTransform)
Animation
For animations I like to use Tween.js. It is simple, yet powerful and its concepts are often the same across different platforms like Unity, Godot or Three.js.
import TWEEN, { Easing, Tween } from 'three/examples/jsm/libs/tween.module.js'

function zoomCameraToObject(...) {
  // ...

  if (animated) {
    new Tween(camera.position)
      .easing(Easing.Quadratic.Out)
      .to(new Vector3().setFromMatrixPosition(cameraTransform), durationMs)
      .onStart(() => {
        if (controls) controls.enabled = false
      })
      .onComplete(() => {
        if (controls) {
          controls.enabled = true
          controls.target?.copy(target.position)
          controls.update?.()
        }
      })
      .start()
  } else {
    // ...
  }
}
Tweens also must be updated. Be careful and not accidentially pass the delta time to update function, because apparently TWEEN.update expects elapsed time. I left the call without arguments at all.
function App() {
  const targetRef = useRef<Mesh>(null)
  useFToZoomToObject(targetRef)

  useFrame(() => {
    TWEEN.update()
  })

  return (
    ...
  )
}
Last but not least, don’t forget to enable animation when calling zoomCameraToObject function in useFToZoomToObject().
function useFToZoomToObject(targetRef: RefObject<Object3D | null>) {
  const { camera, controls } = useThree()

  useEffect(() => {
    const handleKeyDown = (event: KeyboardEvent) => {
      if (event.key === 'f') {
        if (targetRef.current) {
          event.preventDefault()
          zoomCameraToObject(
            camera,
            targetRef.current,
            controls as unknown as Controls,
            true // enables animation
          )
        }
      }
    }

    document.addEventListener('keydown', handleKeyDown, false)
    return () => {
      document.removeEventListener('keydown', handleKeyDown)
    }
  }, [camera, controls])
}
Orthographic camera
In orthographic projection objects have the same size at any distance from camera. Instead, zoom property is used.
With zoom property it is even simplier. It is directly proportional to scale. Having previously calculated the scaleFactor we can apply it to the camera by multiplying zoom property.
For simplicity I replaced code related to perspective camera with new one.
function zoomCameraToObject(...) {
  // ...
  const scaleFactor = Math.min(maxWidth / actualWidth, maxHeight / actualHeight)
  const desiredZoom = camera.zoom * scaleFactor

  if (animated) {
    new Tween(camera)
      .easing(Easing.Quadratic.Out)
      .to({ zoom: desiredZoom }, durationMs)
      .onStart(() => {
        if (controls) controls.enabled = false
      })
      .onUpdate(() => {
        camera.updateProjectionMatrix() // important
      })
      .onComplete(() => {
        if (controls) {
          controls.enabled = true
          controls.target?.copy(target.position)
          controls.update?.()
        }
      })
      .start()
  } else {
    if (controls) controls.enabled = false

    camera.position.setFromMatrixPosition(cameraTransform)
    camera.zoom = desiredZoom
    camera.updateProjectionMatrix()

    if (controls) {
      controls.enabled = true
      controls.target?.copy(target.position)
      controls.update?.()
    }
  }
  // ...
}
Final result
Complete result is shown in this interactive example. Open codesandbox to see the code.